
DSC01379.JPG
cut parts, kreg holes are clearly visible

DSC01380.JPG
plans based on Menace's cab

DSC01381.JPG
cp, front and brace

DSC01382.JPG
assembled

DSC01383.JPG
assembled

DSC01484.JPG
vinyl overlay using spray adhesive

DSC01485.JPG
vinyl overlay using spray adhesive

DSC01486.JPG
fans: one thermal controlled, black vinyl overlay

DSC01487.JPG
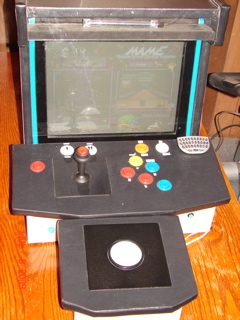
vinyl overlay with buttons installed
--red in back: on/off
--black on side: Esc
--blue on front: sound control
--green on front: light tube pattern

DSC01912.JPG
front complete

DSC01913.JPG
side complete

DSC01920.JPG
control panel closeup

DSC01923.JPG
tight fit again

DSC01924.JPG
motherboard

DSC01925.JPG
uff-da

DSC01926.JPG
thermal control fan and always on fan

DSC01927.JPG
side view showing on/off button waaay in the back
Trackball0.JPG
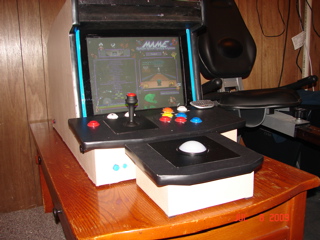
Trackball added.
Trackball1.JPG
Trackball added.